List Maintenance
The List Maintenance options in the Setup > Lists screen allow you to add, edit, or remove list items.
Note: Service Types are maintained under Admin > Company Maintenance > Service Types.
Quickfills
You will notice a green dot next to some lists- this means the list items are Quickfill fields. Quickfill items save you time by automatically filling in frequently-used data. There are two ways to add entries to your Quickfill lists. One is to directly add the value via the Quickfill setup screens. The other is to utilize the automatic add function of the Quickfill on each screen.
You can create and maintain Quickfill values on the setup screen for these lists. These values will then be available in pull down menus when they are available in the system. Quickfill values can also be created "on the go" by simply typing data into a Quick Fill field (denoted by the green Quickfill dot). These will then be available for future use. It is a very useful feature for data entry.
However, users may accidentally enter a value with a typographical error when the value was already there (ex: "Atlanta" was an available Quickfill option, but they typed "Altanta".) Using the dropdown menu to select an existing Quickfill rather than beginning to type in the text to search will reduce the likelihood of these errors. Since all new values for Quickfill categories are automatically added to your Quickfill List, you may wish to occasionally visit the Quickfill setup option to remove infrequently used values or typographical errors from the list. If your Quickfills are becoming polluted with entries like this then you can simply clean up your Quickfill fields on this page.
List Operations
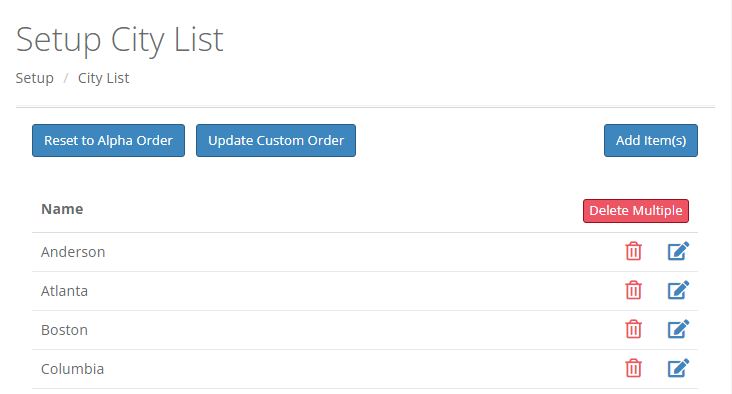
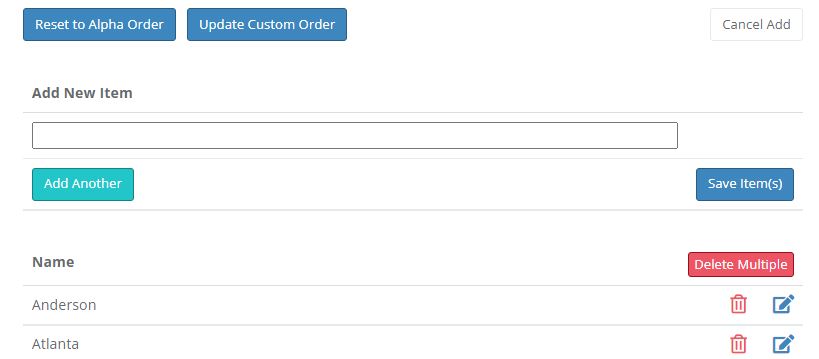
Adding List Items:
Clicking the Add Item(s) button will reveal an area that will allow you to enter one or more list items. Continue typing in your values and clicking the green Add Another button until you have added all your list items. Then click the blue Save Item(s) button. Clicking the Cancel Add button will abort the add operation,
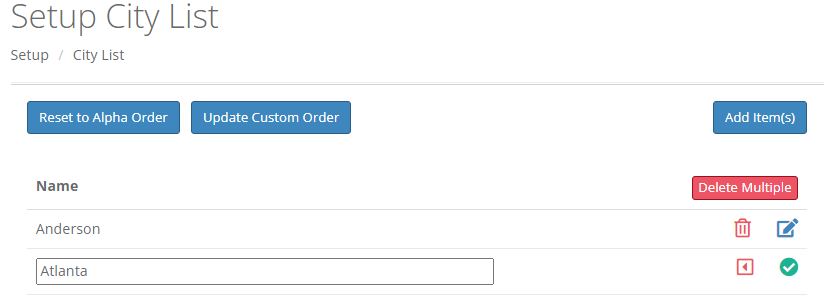
Editing List Items:
Click the edit icon  to edit the name of a list item. Modify the item name and click the green check icon. Clicking the red cancel icon if you do not want to save your changes. Editing an item from the list does NOT affect data previously data entered on any existing case.
Delete a single List Item:
Click the delete icon  to delete a list item. You will be presented with a confirmation popup to confirm the deletion of the item.
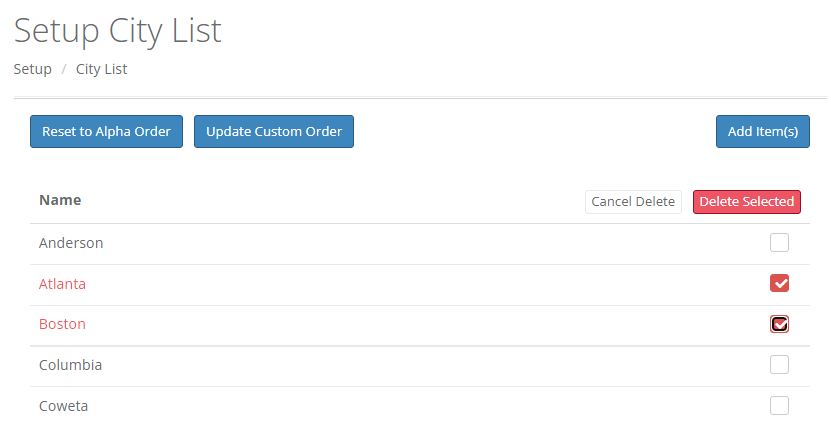
Delete Multiple Items:
Click the red Delete Multi button. You list will appear with checkboxes on the right of each item. Check off each item you would like to delete from the list and click either Delete Selected or Cancel Delete. Deleting an item from the list does NOT affect data previously entered on any existing case.
Reset to Alpha Order:
Clicking this button will immediately resort your list into alphabetical order. Note that it will overwrite any custom order you may have currently set. You will be given the opportunity to confirm your choice to reorder before the list is actually alphabetically reordered.
Update Display Order:
You can change the order in which the list items are displayed in drop down menus by dragging and dropping the list items into place. You must click "Update Display Order" to save your changes.
Professional Contacts
The professional contacts section of your Setup menu allows you to keep track of contacts such as physicians, coroners, pronouncers, and medical examiners.
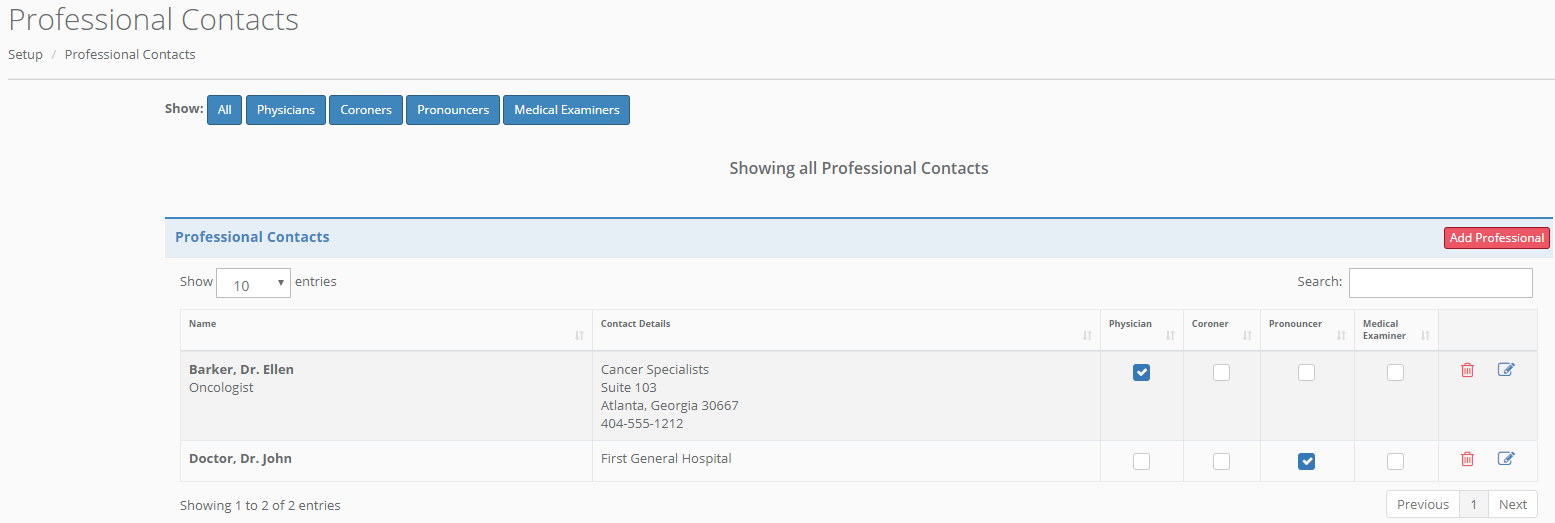
You may click to sort by contact type or view all contacts by clicking the appropriate "Show:" button.
Click "Add Professional" to add a new contact. Check corresponding boxes to mark the contact. Click the edit icon to edit a contact and the trash can icon to delete.
Comments
0 comments
Please sign in to leave a comment.