Enabling the Connection
To send information from Halcyon to your CFS website you will need to allow the integration in your CFS and Halcyon Admin areas.
Step One: Log in to your CFS Administrative area. Check the box to enable the communication with Halcyon and copy your unique Website UID to your Clipboard. Please contact CFS Support if you need help obtaining your unique Website UID.

Step Two: Now login to your Halcyon system and visit Admin > Integration Maintenance > Consolidated Funeral Services. You should see your location listed. If you are configured as multi-branch you will see an entry for each of your branches/servicing locations.

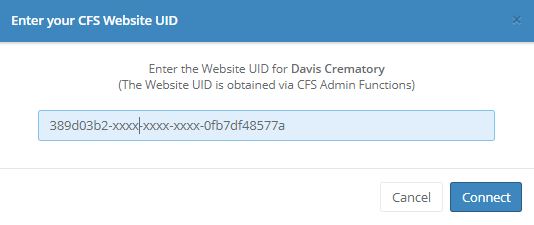
Click the Connect to CFS button, then paste in your unique CFS Website UID and click Connect.
IMPORTANT: Your CFS Website UID will change whenever you check the "Enable Halcyon Integration" checkbox in your CFS Administrative area. If you were previously connected to Halcyon then disconnected and reconnected via your CFS Admin functions by unchecking then rechecking the "Enable Halcyon Integration" you MUST update Halcyon with your new website UID. Within Halcyon, click the "Disconnect from CFS", then click Connect and enter the Website UID that appears on your CFS Integration page.
When you are successfully connected you will see the options to Disconnect from CFS and Show the UID you entered. If you experience communication problems with CFS, make sure the UIDs match by using the Show UID option to compare what you entered with the UID in CFS Admin area.
Sending Information to CFS
Once you have been connected you will see a CFS area on the Overview screens for your At Need clients.
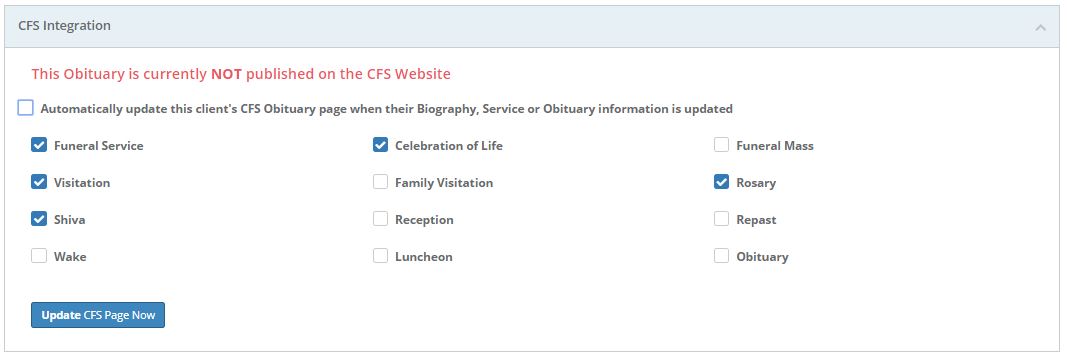
There are check-boxes for each of the Gathering types you have setup in your system via Setup > Gatherings > Gathering Types. (Your list may differ from the above screen shot.)
Check the boxes next to the gathering types you would like to appear on the Obituary page for the decedent. Note that any Gathering marked as a Private Event for a decedent will not be sent to their CFS Obituary page regardless of the checkbox state. Multi-day events such as Shiva will only show the starting date/time.
You may add or edit the decedent's CFS Obituary page information at any time by clicking the blue "Update CFS Page Now".
If the "Automatically update..." box is checked, the CFS Obituary Page will update with any changes you make in Halcion's Biography, Service, or Obituary pages. If you do not have the automatic update box checked, you must manually send the latest information to the CFS Obituary Page using the Overview page.

Click the "Unpublish CFS Tribute Page" button to hide (unpublish) an obituary page from public view that is currently visible (published). Auto-updating, if enable, is disabled when an obituary is unpublished. A message in red will notify you that the obituary is not published.
To republish the obituary page, click the "Update CFS Page Now".
IMPORTANT NOTE #1: the published/not published status of an obituary is the status as Halcyon knows it. If you created an obituary on your CFS website --one that was not initially added from Halcyon-- you should NOT send information from Halcyon to your CFS website for that decedent. Halcyon doesn't know about the existence of the prior CFS record so a second obituary page for that decedent will be created.
IMPORTANT NOTE #2: CFS does not support displaying multi-day events such as Shiva. Multi-day events will only show the starting date/time.
IMPORTANT NOTE #3: If you get errors when you attempt to send information from Halcyon to your CFS website, please make sure the Website UID that appears in your Halcyon CFS configuration matches the Website UID that appears in your CFS Website Integration Settings.
Comments
0 comments
Please sign in to leave a comment.